Charge
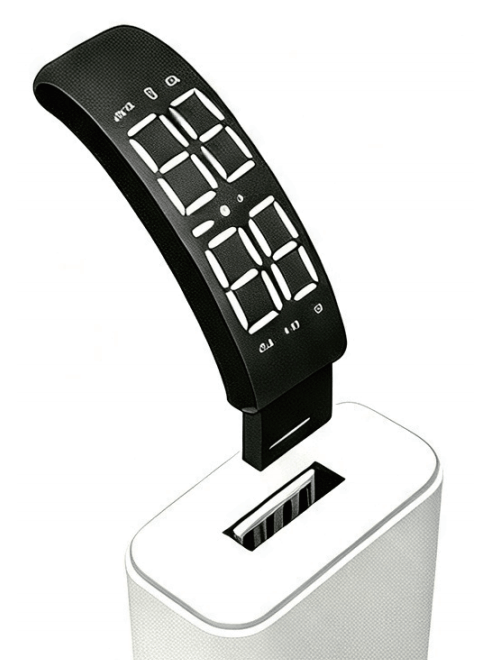
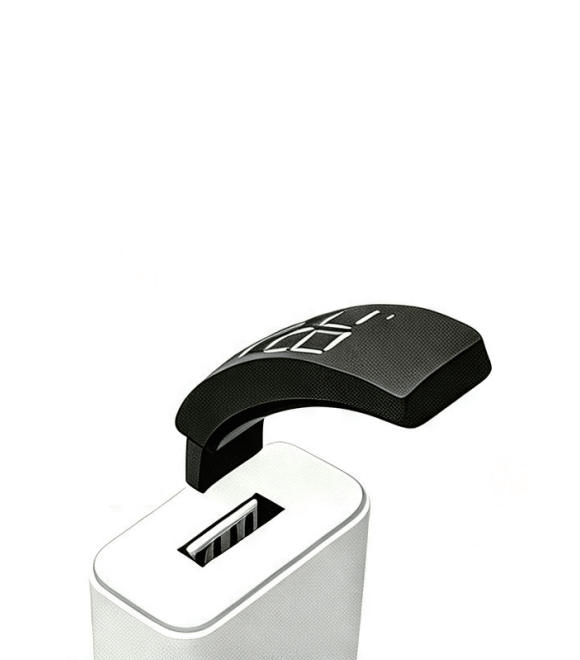
Gently separate the strap from the module and plug the USB end into a standard charger or computer port.
C3Plus • no phone app required
An independently operated C3Plus brand guide to the two-button controls, daily activity display, three silent alarms and USB charging. Start here, then use the detailed steps below whenever you need them.
For the C3Plus sports alarm-clock wristband shown here. Check your model before following the steps.
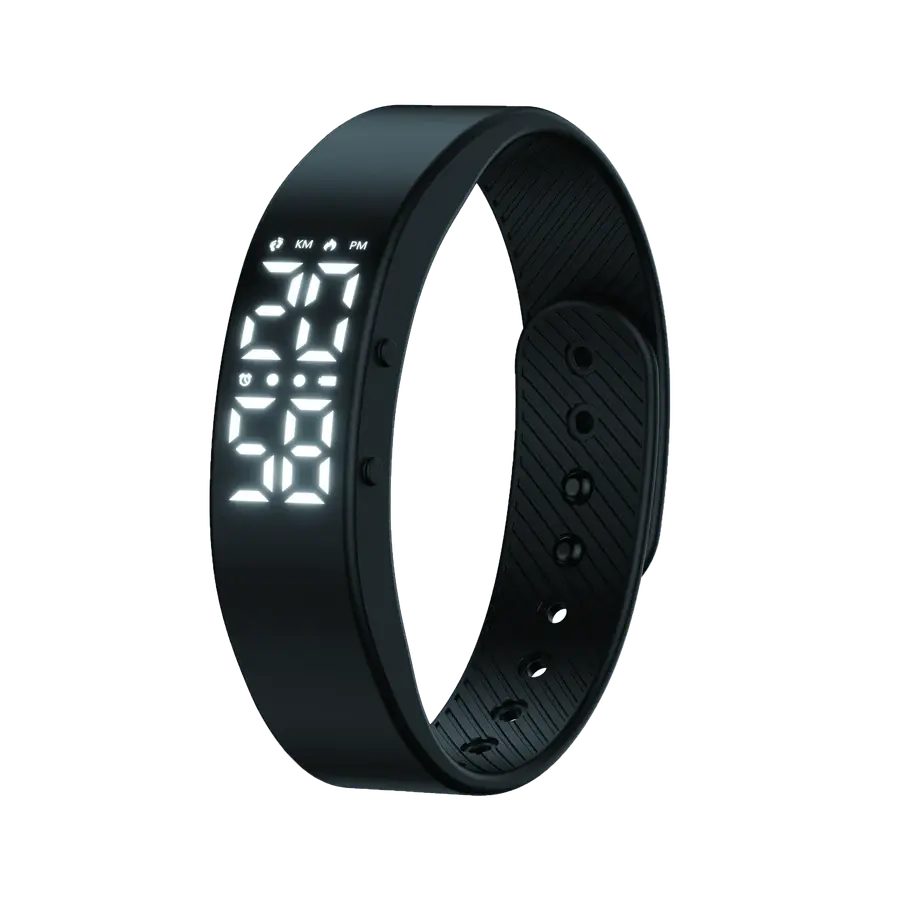
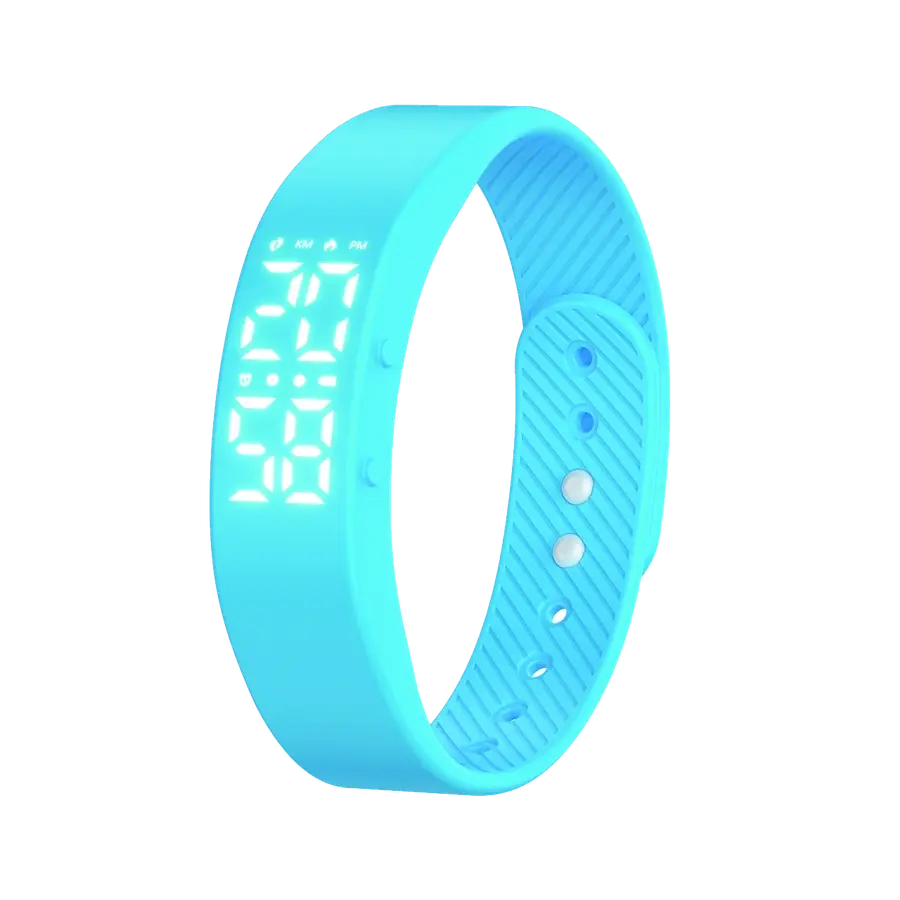
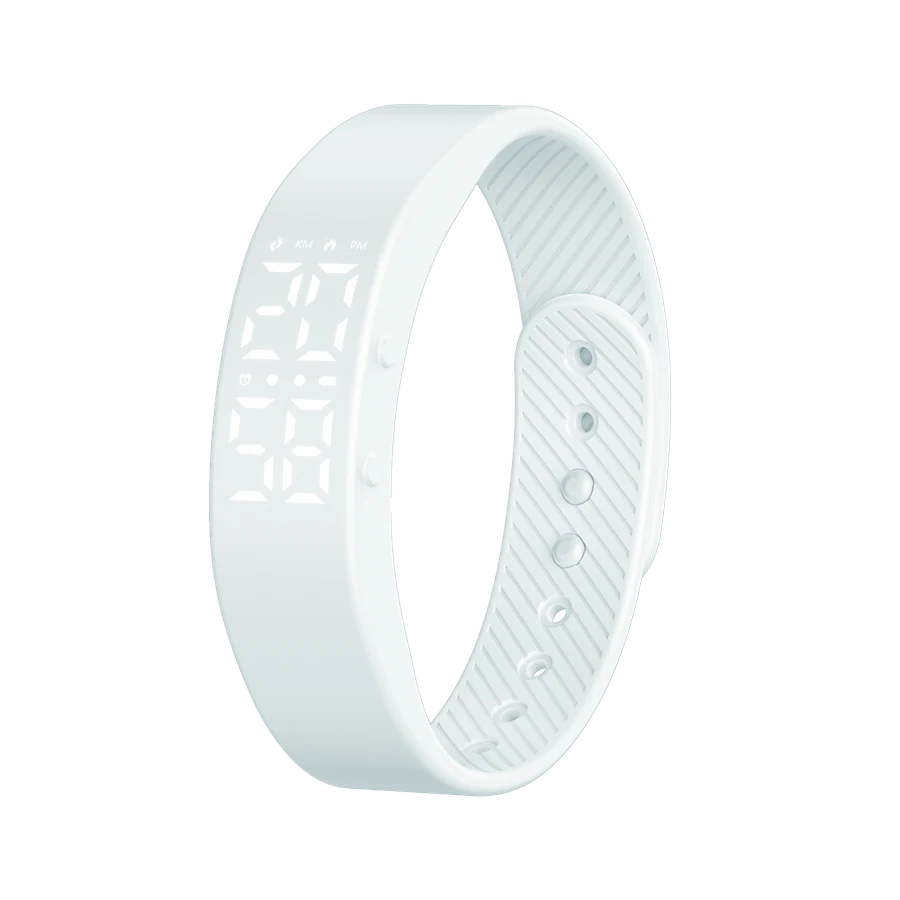
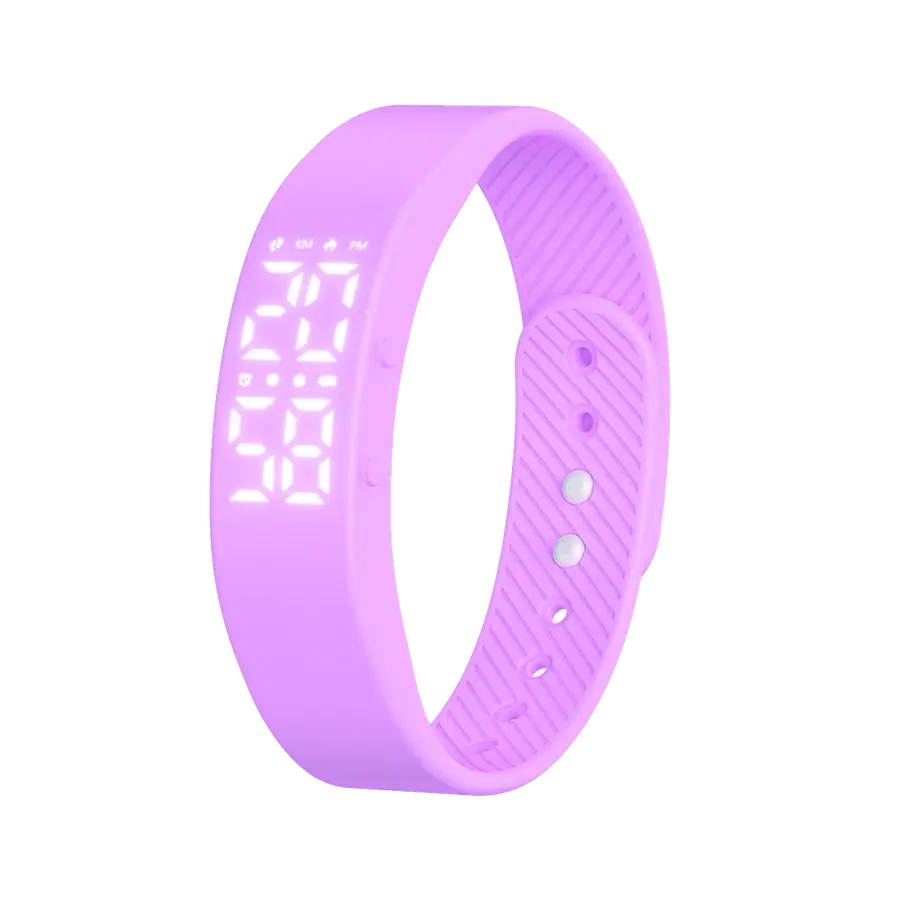
Charge the module before first use. Remove it from the strap, insert its built-in USB plug into a standard 5 V USB port, then reinstall it after charging. The band works without pairing it to a phone app.
Gently separate the strap from the module and plug the USB end into a standard charger or computer port.
Show the clock with one press of the lower button, then hold the upper button for three seconds.
Press the lower button to cycle through steps, calories, distance and your three alarm screens.
Watch the original C3Plus demonstration for a visual walkthrough. This video is hosted by YouTube and plays in an embedded player; YouTube may process viewing data under its own terms.
If the player is unavailable, open the tutorial on YouTube. The written instructions below work without the video.
A short press means press and release immediately. A long press means hold for about three seconds. The lower button changes the displayed function and confirms certain actions; the upper button opens settings and advances between fields.
| Presses | What appears |
|---|---|
| 1 | Current time; date appears shortly afterward |
| 2 | Step count |
| 3 | Estimated calories burned |
| 4 | Estimated distance in kilometers |
| 5–7 | Alarm A1, A2, then A3 |
| 8 | Sleep tracking status |
Button counts are based on the display being off. If you lose your place, let the screen turn off and begin again.
Because this model does not sync to an app, you set its clock directly on the band.
Open the step-count screen with two lower-button presses, then hold the lower button for three seconds. The daily count also resets automatically at midnight. The maximum displayed count is 99,999.
On the clock screen, hold the lower button to enter timer mode. Short-press to start or pause; hold again to leave timer mode.
The supplied instructions describe an “S OF / S ON” screen after eight lower-button presses from the resting screen. If your band shows it, hold the lower button to change the displayed setting.
The factory's C3Plus product listing does not promise sleep analysis. The presence of this setting does not establish that your batch records or reports sleep data. Steps and calorie figures are general wellness estimates, not medical measurements.
From the resting screen, press the lower button five times for A1, six for A2 or seven for A3. Hold the lower button to enable the selected alarm. An alarm must be enabled before its time can be changed.
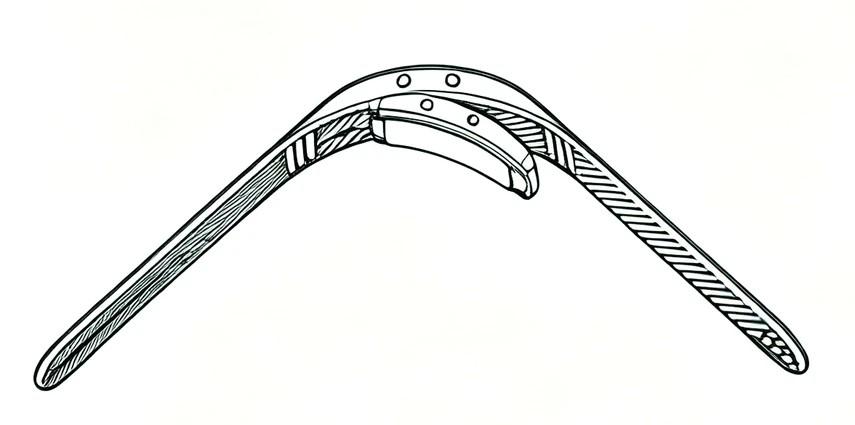
Pull the strap away from the module carefully to expose the built-in USB connector. Insert the connector in the correct orientation into a standard 5 V USB port. A flashing red light indicates charging; a steady green light indicates a full charge.
Do not force the plug or leave the band charging long after the green light appears. Wipe moisture from the module after washing your hands or exercising. Use a normal USB power source rather than a fast-charge-only interface.
| Display | LED |
|---|---|
| Battery | 55 mAh rechargeable lithium-polymer |
| Charging | Built-in USB connector; DC 5 V |
| Activity sensor | G-sensor / 3D accelerometer |
| Step display | Up to 99,999 steps |
| Alert | Vibration motor |
| Material | Silicone strap and ABS housing |
| Approximate size | 221 × 16.3 × 8 mm |
| Approximate weight | 15 g |
Specifications may vary by production batch. Check the physical product or seller documentation when exact dimensions are important.
No. Time, alarms and activity screens are controlled with the wristband's two buttons.
This model does not rely on phone pairing, so set the clock directly on the band after first use or if it loses time.
The daily count resets automatically at midnight. Holding the lower button on the steps screen also resets it manually.
Check connector orientation and try another standard USB port. See the troubleshooting guide for a fuller checklist.
If a control does not behave as expected, begin from the screen-off state and repeat the relevant button sequence above. For charging, display, time, steps, alarms and sleep problems, use the symptom-by-symptom troubleshooting guide; it separates checks you can do safely from issues that need seller support.